Table of Contents
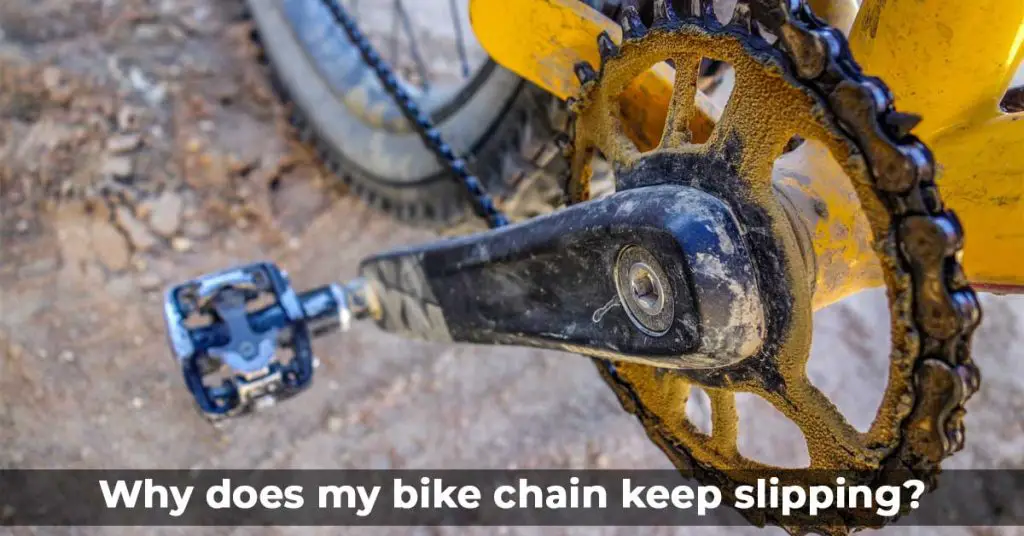
A slipping or jerking chain is one of the most common mechanical difficulties when a cyclist exerts much force. Riders can experience minimal discomfort and a quick fix for the chain issue by replacing the hard part or performing a straightforward automatic repair.
Every cyclist will experience the dreaded chain slip at some point in their cycling lives. When cycling, a chain slap occurs when the chain moves more than once or entirely refuses to move.
You’re lucky since you won’t have to consult an expert or technician to resolve the issue. The chain tightness of the shifting cable may be adjusted, damaged parts of the bike can be replaced, and the entire drivetrain can be given a thorough cleaning. Without a thorough understanding of the situation, valuable resources like time and energy might be wasted. So, it is essential to be ready for every situation.
The phenomenon when a rider jolts a bicycle chain with their pedals is known as “ghost shifting.” The term “phantom shifting” describes this phenomenon in various contexts, like fixing and modifying the gears. If your chain is under too much strain, it may skip gears or even hop them.
Each of these movements is broken down and explained in detail in the article, “Jumping, Skipping, and Sliding in a chain,” and includes diagnostic tools and potential remedies.
Chain the important bike component
A bike’s chain is an essential but often-overlooked part. If something terrible happened, you’d worry about it the whole time. If everything is running smoothly, you will not realize anything is wrong. When the chain is considered, it is evident that the position is far more unstable than previously.
The chain of a bicycle, which may have as many as 116 links, is the component with the most independent moving elements. The chain should not be excessively short since this would prohibit it from fitting on the most prominent front chainring or cassette cog.
However, it should not be too long since this would cause it to slip off the smallest chainring and gear. If your chain is excessively long, the chainring and equipment with the smallest chainring will have excessive slack.
The gears in your gearbox will dictate the number of chain links that must be removed (9, 10, or 11). To rapidly determine the precise chain length for your bicycle, utilize the chain that is now attached to the bike. After that, you will need to select the optimal chain length for your bicycle.
Bike Components
A “silent treatment” from a slipping chain typically indicates an issue with your rear wheel’s ratcheting system. There are two primary types of rear wheel systems to select from. These components are referred to by the words cassette and freewheel.
Your bike’s freewheel is made up of cogs that are put into a freewheel body, which is linked to the back hub. When utilizing a cassette, insert the cogs into the cassette body and fasten it to the rear seat with a few screws.
A cassette is a component found on most bicycles. The most typical ratchet mechanism for freewheels and cassettes is a series of spring-loaded pawls that engage into a circular case with peaks and valleys. This device works in the same way as a ratcheting socket wrench or a casting rod.
Reason for the problem with their solution
There are many reasons for chain slipping or jumping. Most occurrences of skipping chains may be traced back to cable tension. The gear cables on your new bike will be the most stressed over the first few rides. Furthermore, as you bike away from them, they may become more spread.
Some problems with the ratchet mechanism include a shortage of lubrication, frozen water inside the body, and stripped cogs on the freewheel or cassette body.
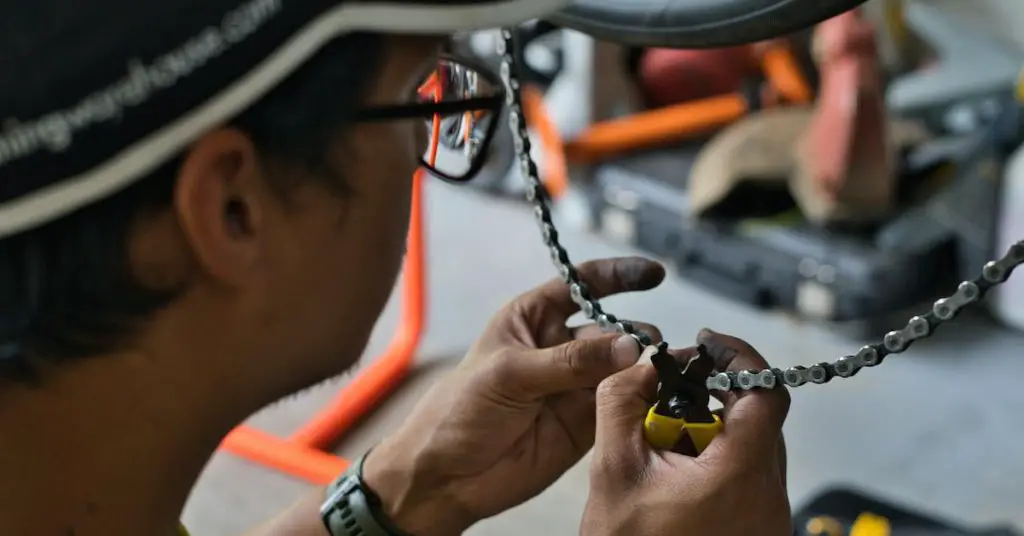
Regular chain changes may help to extend the life of your drivetrain. The usual mechanic will recommend changing your chain after 2,000 to 3,000 miles; however, this amount can vary substantially depending on how frequently and hard you ride.
A chain-checker, which monitors how much your present chain has stretched, is the simplest way to determine if you need a new chain. A well-maintained chain may potentially last for over 8,000 miles. Still, according to Jason Smith of the Colorado-based research organization Friction Facts, a chain loses two watts of power for every one percent that it elongates. However, as the chain matures and lengthens, its efficiency drops considerably.
Furthermore, dirt and grime in your chain lubricant serve as a grinding paste, hastening the disintegration of the pins and rollers. If you do this, the center-to-center distance of your chain will rise, causing your gears to wear out faster than usual, according to Smith. A new chain, chain ring, and cassette will cost at least $300, a significant increase over the first $50 you’d spend on a replacement chain alone.
Also, read:
How To Remove A Bike Chain Without A Master Link?
You must clean your chain
Keeping a chain in top shape requires regular cleaning. No matter how much experience you have under your belt, every wrench has its preferred technique.
On the other hand, infrasound chain lube inventor Josh Simonds recommends nothing more involved than a quick wipe-down with a clean cotton towel after each ride.
Experts suggest cleaning the chain with hot water, Dawn liquid detergent, and a nylon brush when it becomes clogged with impurities. Master mechanic Calvin Jones, for example, always uses a Park Tool Chain Gang replenished with the company’s degreaser.
If your chain is grimy, you may either take it apart and put it in a Gatorade bottle filled with degreaser, shake it violently, or take your bike back to the store from whence you bought it and have the chain ultrasonically cleaned.
Let’s talk about some potential reasons why the chain on your brand-new bike is slipping, as well as the solutions that may be used to stop the problem in the future.
Cables Tension adjustment
Usually, slack cables are to blame when a fresh new bike chain slips.
The new shifting cables require significant stretching over the first few rides. When the wires are overstretched for an extended period, your chain will start to slip between the gears. Once the wires have been stretched out, making minor adjustments to the tension is usually straightforward.
Since cables stretch over time, the effect is analogous to that of a skipping chain brought on by a faulty indexing adjustment. Since cables age and stretch, it’s also possible that it may cause similar problems on a carefully indexed drivetrain. The cables on every bicycle will wear out at some point.
High friction in the shift cables and rust in the housing are common issues on older bicycles due to neglected or incorrectly maintained lines. This will lead to sluggish shifting performance, which will manifest as activities like rapid gear changes, or you guessed it chain skipping when pedaling. However, these problems are avoided with the prompt repair and regeneration of cables on modern bicycles.
Poorly installed internal wiring routing can cause the same problems, even in brand-new bicycles (with tight bends or kinks in the cables causing excessive friction).
In the case of full-suspension mountain bikes, “ghost shifting” can occur if the cable length is not adjusted to account for the frame geometry changes caused by the suspension’s compression during a ride.
To fast relieve the pressure, try these steps
- Position your bike’s gear shifter in park, then use the hand pedals to move the chain to the rearmost, the smallest cog in the cassette. Shift gears and check all the safety features. An increase in chain tension may be required if the chain is not climbing a gear when the gear is in use.
- Adjust the right barrel, so it points away from you by rotating it counterclockwise. It would help if you replaced a little piece on the opposite side of your derailleur. It may take more than one attempt to get the chain from the lowest cog to the highest one.
- If the issue remains and the sequence does not progress, the procedure must be repeated.
- Keep fiddling with the setting until you reach the sweet spot where the chain moves smoothly and the bike shifts as it should.
- The front derailleur works the same way as the back derailleur. However, while adjusting the front derailleur, you must turn the barrel adjuster counterclockwise (turn it towards you).
Conclusion:
When your bike chain slips, you may be able to fix the problem yourself. Check the chain for wear and replace it if necessary. Check the chainrings for wear and replace them if necessary. Check the chainrings for wear and replace them if necessary. Clean and lubricate the chain.